How to Upload and Organize Media in Scenith (2025)
Quick Answer: Upload and organize media in Scenith’s Project Editor in under 3 minutes using the intuitive Media Panel, with drag-and-drop functionality for videos, photos, audio, and elements.
A well-organized media library is the foundation of a smooth video editing process. With over 3,500 creators using Scenith, its beginner-friendly Media Panel makes uploading and organizing media effortless for YouTube, Instagram, or TikTok projects.
This guide compares methods to upload and organize media and provides step-by-step instructions to streamline your workflow in Scenith’s Project Editor.
Method Comparison Overview
| Method | Time Required | Cost | Ease of Use | Best For |
|---|---|---|---|---|
| Scenith | 3 minutes | Free | Very Easy | Beginners & Pros |
| Other Software | 10-20 minutes | $20-50/mo | Medium | Experienced Editors |
Method 1: Upload with Scenith (Recommended)
Scenith’s Project Editor offers a user-friendly Media Panel to upload and organize videos, photos, audio, and elements. With drag-and-drop functionality and a 4.9/5 user rating, it’s ideal for creators of all levels.
How to Upload and Organize Media in Scenith:
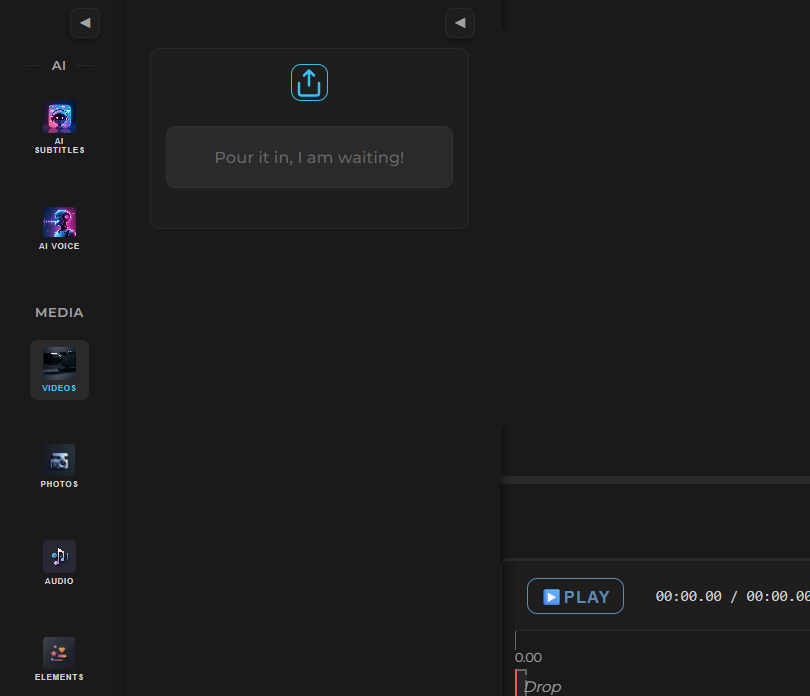
- Open Media Panel: In the Project Editor, click the Media Panel button (sidebar icon) to access sections for Videos, Photos, Audio, and Elements.
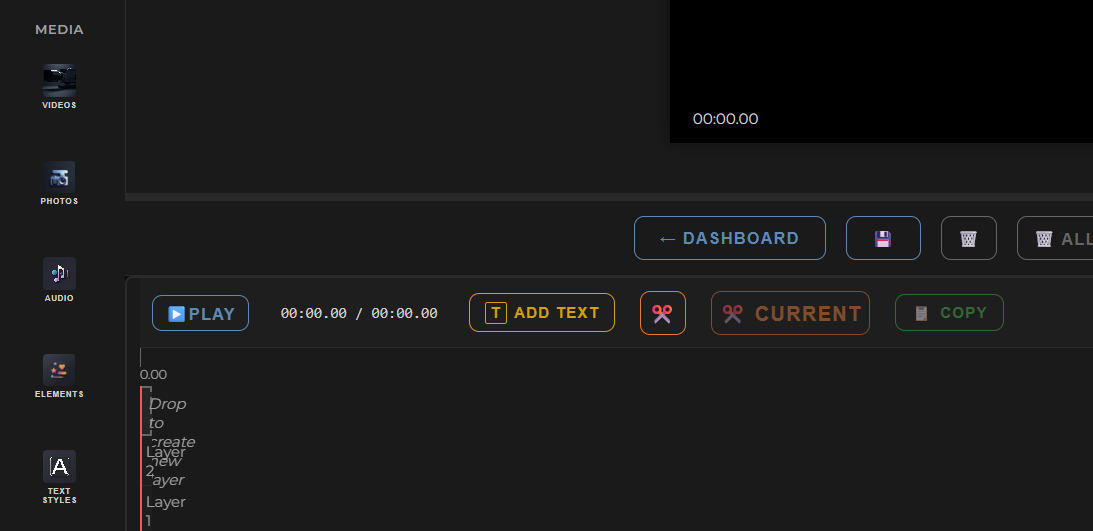
- Upload Files: Click the upload button in each section to select files (MP4, MOV for videos; PNG, JPEG, WebP for photos; MP3, WAV for audio). Free plans allow up to 15 videos.
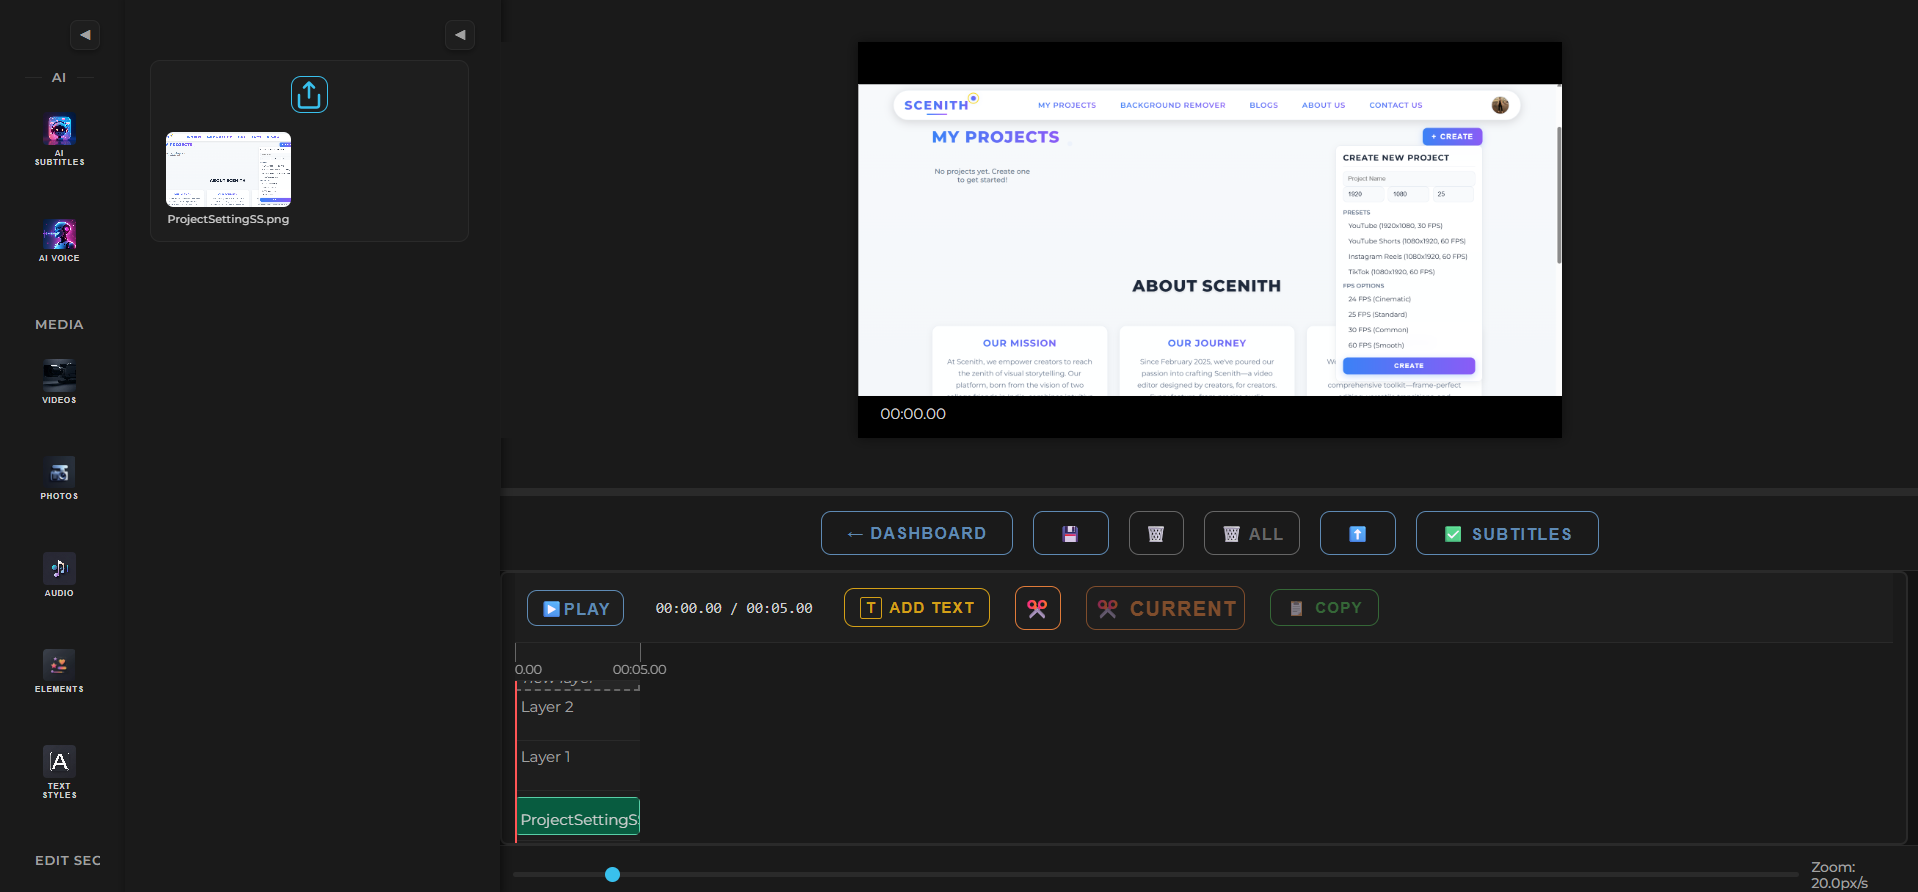
- Organize Assets: View uploaded assets with thumbnails (videos/photos) or placeholders (audio). Use the search bar in the Elements section for graphics or overlays.
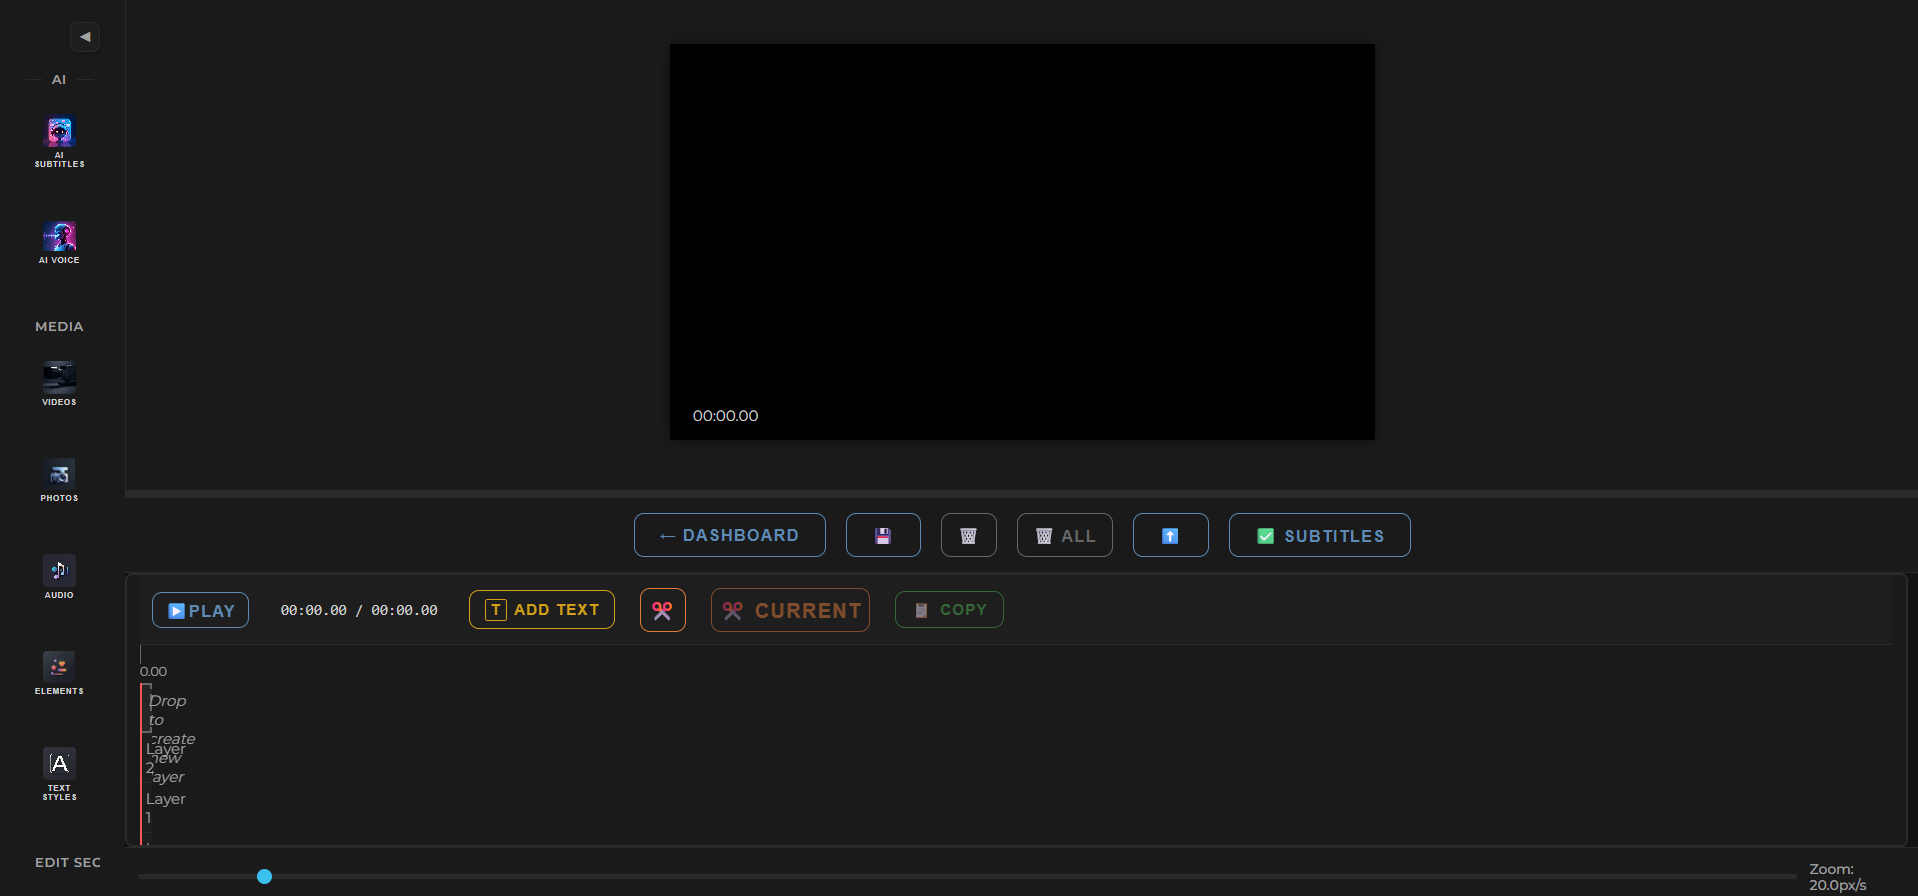
- Add to Timeline: Drag or click media to add to the timeline. Videos/photos go to video layers, audio to audio layers, with auto-positioning to avoid overlaps.
✅ Advantages:
- Beginner-friendly Media Panel
- Upload videos, photos, and audio in one place
- Drag-and-drop to timeline
- Background removal for photos
- Free to start, no subscription needed
❌ Disadvantages:
- Free accounts limited to 15 video uploads
- Requires login to save projects
Try Scenith for free: Upload and organize your media with .
Start Uploading Free →Method 2: Other Video Editing Software
Professional software like Adobe Premiere Pro, Final Cut Pro, or DaVinci Resolve supports media uploads but requires more time and technical expertise compared to Scenith’s streamlined Media Panel.
Popular Software Options:
- Adobe Premiere Pro: Industry-standard with complex media import workflows
- Final Cut Pro: macOS-exclusive with manual media organization
- DaVinci Resolve: Free version available but steeper learning curve
General Workflow:
- Open the software and create a new project
- Import media files manually from your device
- Organize assets in bins or folders
- Drag media to the timeline for editing
✅ Advantages:
- Professional-grade tools
- Advanced media management options
- Works offline
- Supports complex workflows
❌ Disadvantages:
- Expensive subscriptions
- Steeper learning curve
- Time-consuming media import
- Not beginner-friendly
Best Practices for Media Management
📂 Organize by Category
Use Scenith’s Media Panel sections (Videos, Photos, Audio, Elements) to keep assets organized.
🎥 Optimize File Formats
Upload MP4/MOV for videos, PNG/JPEG/WebP for photos, and MP3/WAV for audio for compatibility.
🔍 Use Search for Elements
Utilize the Elements section’s search bar to quickly find graphics or overlays.
✅ Login to Save
Sign in to Scenith to save your media and projects securely.
Frequently Asked Questions
What file types can I upload?
Scenith supports MP4, MOV for videos; PNG, JPEG, WebP for photos; and MP3, WAV for audio.
How do I add media to the timeline?
Click or drag media from the Media Panel to the timeline. Scenith auto-positions assets on available layers.
Do I need to be logged in?
Yes, logging in saves your uploads and project. Sign up for free to start.
How many videos can I upload for free?
Free accounts can upload up to 15 videos per project.
Conclusion
Uploading and organizing media in Scenith is fast, intuitive, and perfect for creators of all levels. With a user-friendly Media Panel and drag-and-drop functionality, you can streamline your workflow in under 3 minutes.
While professional software offers advanced features, Scenith’s simplicity and free tier make it the best choice for most creators. Start uploading today and join over 3,500 creators using Scenith.
Ready to Streamline Your Video Workflow?
Upload and organize your media with Scenith’s free plan – .
Start Uploading Free →Made a video with Scenith? Tag us on socials for a chance to be featured!